Rain on a dark verge, hazard lights blinking and a soft rim sinking toward the tarmac is a scene nobody enjoys. A rehearsed sequence, the right kit already in the boot and a firm refusal to work in danger turn panic into a manageable roadside task.
Phase one: reaching safety and warning other drivers
Everything begins with safety, and safety begins before the car has even stopped. As soon as a tyre fails, the car will feel heavy, noisy and unwilling, and the instinct to brake hard should be resisted. Hold the wheel firmly, ease off the speed gradually and steer towards a place where the car can stand well clear of moving traffic: a layby, a wide verge, a side street or a car park, anywhere that puts solid distance between you and the flow of vehicles. The slower and straighter the stop, the more control you keep over where the car ends up.
Once stopped, make the car visible and secure. Turn on your warning flashers, pull the parking brake up tight and switch the engine off, angling the front wheels away from passing traffic where the surface permits. Passengers should leave the car from the side away from traffic and wait somewhere properly safe, behind a barrier or well up the verge, never standing behind the vehicle or in the road beside it. If you carry a warning triangle, placing it behind the car at a sensible walking distance gives approaching drivers earlier notice, provided placing it does not itself involve walking into danger. Drivers who spend their journeys thinking about reducing emissions from everyday commuting journeys explained still face the same roadside realities as everyone else, and a puncture is the moment where preparation, not good intentions, decides how the next hour goes.
Now judge the scene honestly before any tools come out. Look at where the car stands, how fast the traffic passes, how much room you truly have on the side where the failed tyre sits and whether the ground looks firm and level. If the damaged wheel is on the traffic side of a busy road, if the car has stopped on a fast or exposed stretch, or if anything about the position feels unsafe, the correct decision is to stop here, keep everyone clear and call for breakdown help. No tyre is worth working beside fast traffic. That refusal is part of the skill, not a failure of it.
Phase two: checking equipment before touching the wheel
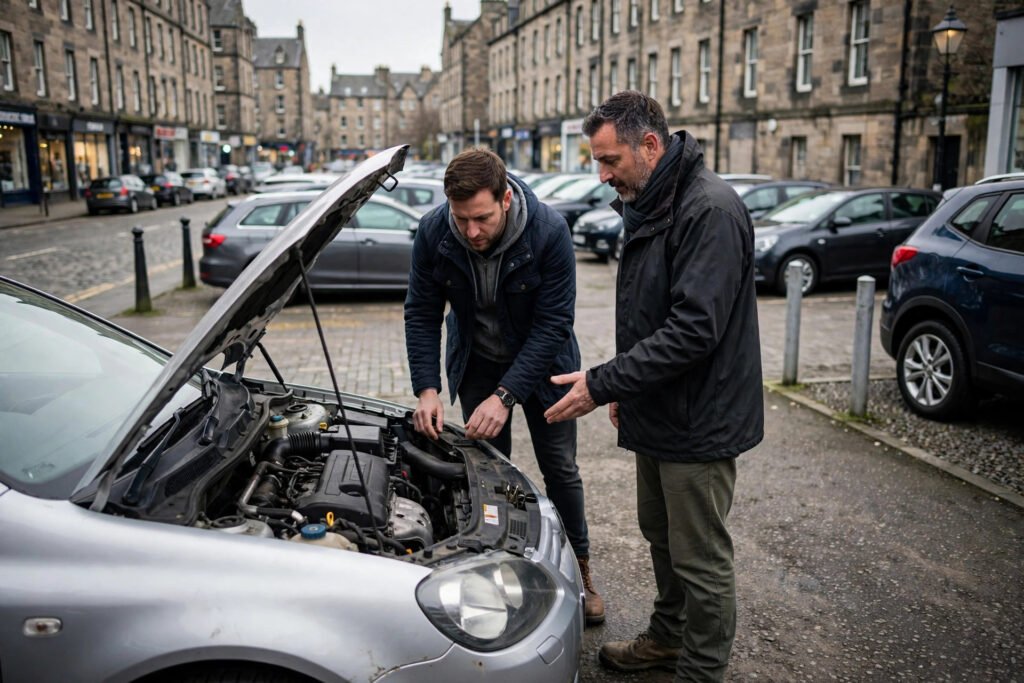
With the car safe, find out what you actually have to work with, because modern cars carry different answers to the same problem. Many carry a full spare wheel in the boot. Others carry a temporary spare, slimmer and lighter than a standard wheel. Some carry no spare at all, offering instead a sealant and inflator kit intended to deal with minor punctures long enough to reach a garage. Because each arrangement involves a separate kind of job at the kerb, finding out which one your car carries while stranded outdoors in wet weather is far worse than checking calmly at home on a dry day.
Wikipedia’s material on tyres describes them as inflatable wheel coverings providing grip and cushioning, fitted around the wheel rim, and its coverage of the spare tyre presents it as one of the replacement wheels carried for roadside tyre failure. That simple pairing, a fitted tyre and a carried replacement, is what the classic wheel change depends on, so confirm the spare is present and in usable condition before anything else. A spare that is soft, damaged or aged beyond trust turns a change into a delay. Check also for the jack and the wheel brace, the tools the car maker supplied for exactly this job, and read the handbook section on changing a wheel, which will show where this particular car expects to be lifted.
One small item defeats more roadside attempts than any other: the locking wheel fastening key. Many cars secure each wheel with one special fastening that only its matching key can undo, and that key usually lives in the glovebox, the boot tray or with the spare wheel tools. If it cannot be found, the wheel cannot come off, whatever else you do. Check for it now, while the situation is still calm, and make a note of where it lives once the job is done. This whole phase is best rehearsed in advance, on a day when nothing has gone wrong, so that boot, tools, handbook and key are familiar long before they are needed urgently.
Phase three: loosening fastenings while weight stays grounded
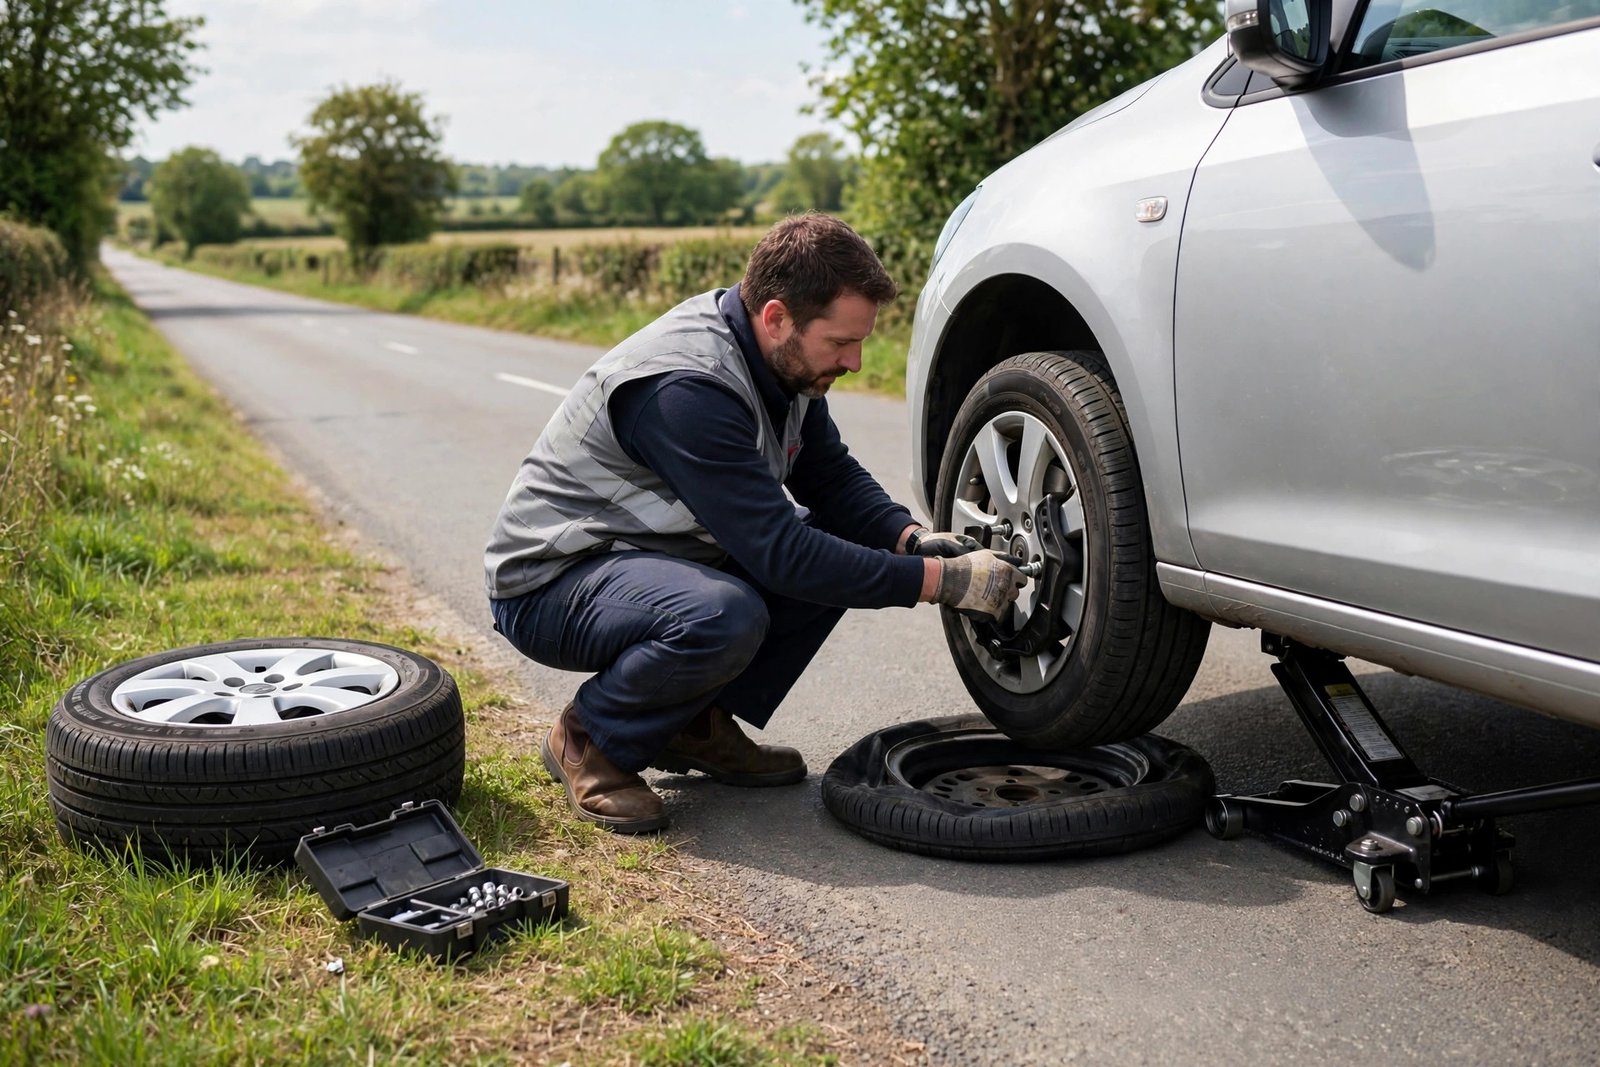
The order of the next steps matters more than strength or speed. While the car still stands with its full weight on the ground, loosen the wheel fastenings on the failed wheel, turning each one a modest amount and no more. The ground is doing essential work here: it holds the wheel still against the turning force of the brace. A wheel lifted in the air first will simply spin or rock against your efforts, and a car rocked while raised on a jack is a car being made less stable at the worst possible moment.
Remove any decorative cover over the fastenings first, carefully, since covers often clip on and can crack if forced. Fit the brace fully onto each fastening before applying pressure, and use steady force, with your body weight behind the tool if needed, rather than sharp jerks. Fastenings that have been tightened by machine at a garage can be stubborn. If a fastening refuses to move under reasonable, controlled effort, accept the message it is sending. Seized fastenings are one of the recognised reasons to abandon the attempt and call for help, because the force needed to free them can disturb the car once it is lifted, and professional help carries tools and stabilising equipment that a boot kit does not.
Phase four: lifting carefully at the correct point
Every car has specific reinforced points designed to take the jack, usually along the sill near each wheel, and the handbook will show exactly where they are on your model. Place the jack under the correct point for the wheel you are changing, on ground that is firm and as level as you can find. Soft earth, loose gravel and steep slopes are all poor foundations, because a jack under load can sink, tilt or slip, and a car that moves while lifted is dangerous to anyone near it. If the ground beneath the jacking point will not hold the jack steadily, the attempt ends here and breakdown help takes over.
Raise the car slowly, watching the jack and the car together as the weight transfers. Stop as soon as the failed tyre is clear of the ground by a small margin. There is no prize for height. The higher a car sits on a single jack, the less forgiving any movement becomes, and the spare wheel only needs enough clearance to come off and go on without dragging against the ground. Keep hands, feet and every other part of you out from beneath the car at all times. A jack is a lifting tool, not a support stand, and the space under a raised car is never a place to reach into casually.
Phase five: fitting the replacement and tightening evenly
Offer the replacement wheel up to the hub, aligning the holes in the wheel with the fittings on the car, and support its weight until the first fastenings are started by hand. Hand starting matters. A fastening that begins smoothly by hand is seated correctly; one that resists from the first turn may be crossing its thread, and forcing it with the brace would damage both fastening and fitting. Work through all the fastenings by hand until each is snug, keeping the wheel pressed evenly against the hub as you go.
Then tighten with the brace in an alternating pattern, moving across the wheel from one fastening to the one opposite it rather than working around in a circle. This pattern pulls the wheel onto the hub squarely and evenly, which is how it is meant to sit. Tighten each fastening a stage at a time, returning around the pattern until all of them are properly firm. An unevenly seated wheel, tight on one side and loose on the other, is a hazard that may not announce itself until the car is moving, so the patience of this pattern is safety work, not ceremony.
Lower the car slowly until its weight is fully back on the ground, then go around the fastenings once more with the brace and give each a final firm tightening now that the ground is holding the wheel still again, exactly as it did during the loosening. Put the damaged wheel, the tools and the warning triangle away securely in the boot, making sure nothing loose is left to slide around, and check that no equipment has been left at the roadside before you return to the driver’s seat.
Phase six: driving onward and arranging proper repair
The job is not finished when the wheel is on; it changes character. If the replacement is a temporary spare, treat it strictly as a means of reaching a garage. Such spares are built for short, gentle journeys rather than ordinary driving, so keep speed modest, distances short and manoeuvres smooth, and go directly to proper repair rather than folding the spare into your normal routine for days. A full size spare in good condition is less restrictive, but the wise driver still treats the car as a vehicle awaiting attention until the damaged tyre has been dealt with and the spare restored to the boot.
At the garage, two things need to happen. The fastenings should be checked with proper torque equipment, confirming that the tightening you achieved by hand and brace at the roadside is correct for the car. And the damaged tyre should be assessed honestly: some punctures, cleanly placed in the tread, can be repaired to a proper standard, while damage to the sidewall or a tyre that was driven on while flat will usually mean replacement. Accept that judgement from the evidence of the tyre itself rather than hoping a damaged one can be coaxed back into service.
Finally, close the loop that this whole sequence opened. Have the spare, whether repaired, replaced or the temporary one returned to its place, checked and ready for the next time, and make routine checks of tread, pressure and visible damage on all the tyres, including the spare, part of ordinary car care.