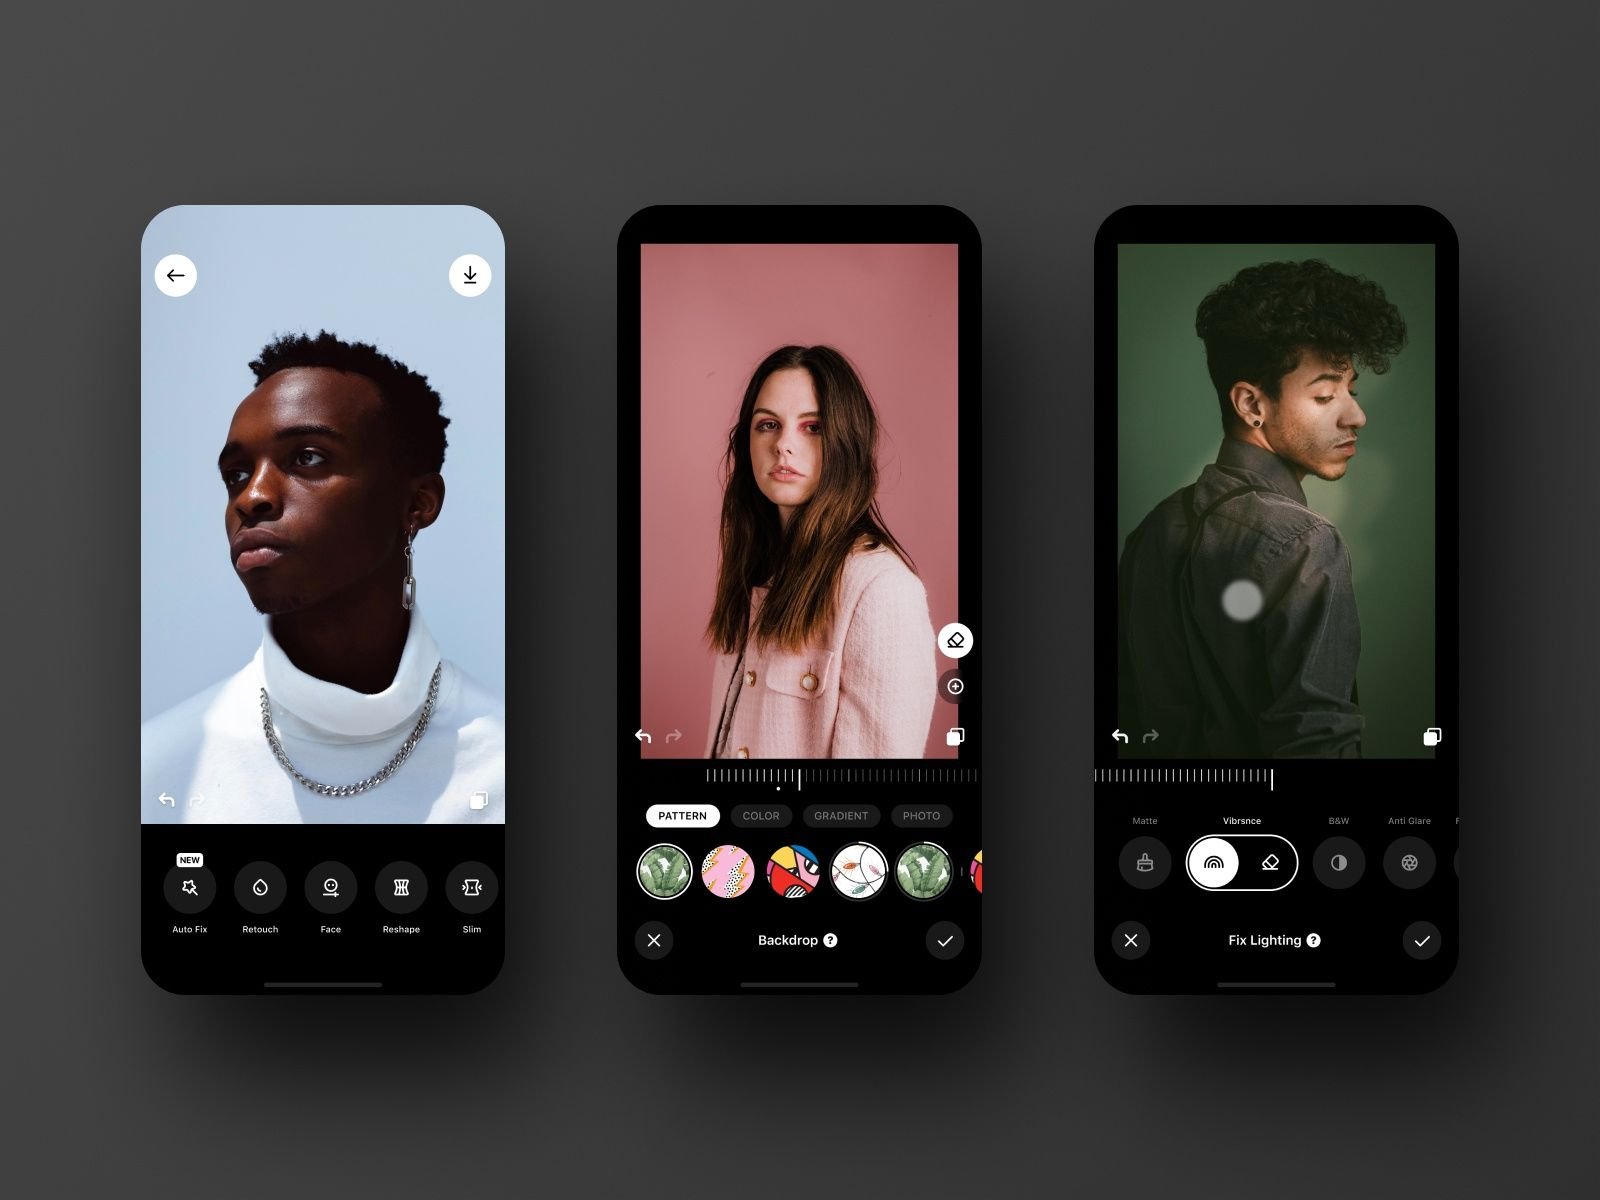
Finding what are the best ai photo editing apps for beginners used to mean choosing between intimidating professional software and toys. AI has completely changed that equation. The best beginner apps now do the hard parts automatically — removing backgrounds, fixing lighting, erasing photobombers — while you just point at what you want. I edited a whole set of product photos for a friend’s Etsy shop on my phone in an afternoon, and the results looked like she’d hired a photographer.
The key insight for beginners: you want apps where AI does the technical work and you make the creative decisions. Here’s what’s actually worth your time in 2026.
What are the best AI photo editing apps for beginners?
The best all-rounders
- Google Photos (free): you already have it, and its AI editing — Magic Eraser, Photo Unblur, Magic Editor — is genuinely excellent. For quick fixes to phone photos, start here before downloading anything else.
- Snapseed (free, Google): more control than Google Photos, still beginner-friendly, with AI-assisted selective adjustments. The “selective” tool lets you brighten just a face with a tap. Completely free, no ads, no upsell — remarkable.
- Adobe Lightroom Mobile (free tier): the AI auto-enhance and subject-selective edits are superb, and skills transfer if you ever go pro. The free tier is generous; the paid tier adds AI denoise and generative remove.
Best for specific jobs
- Removing backgrounds/objects: Canva’s background remover (free tier, limited uses) and Adobe Express are the easiest one-click options. For product photos on white backgrounds, they’re near-perfect.
- Portraits: Remini (free trial) for enhancing old or blurry portraits — almost magical on scanned family photos. Facetune for subtle portrait retouching, though go easy; overdone is obvious.
- Fun/creative: Lensa’s AI avatars and Prisma’s art filters for stylised images. Great for social media, not for your LinkedIn headshot.
- Old photo restoration: dedicated AI restorers can colourise and repair damaged prints — lovely for family history projects.
Beginner techniques that make the biggest difference
You don’t need to learn everything. These five moves fix 90% of phone photos:
- Auto-enhance first. One tap in any of these apps fixes exposure and colour. Judge from there.
- Crop ruthlessly. Most bad photos are badly framed, not badly exposed. Crop tighter than feels comfortable.
- Remove distractions. Magic Eraser the bin, the stranger’s elbow, the lamppost growing out of someone’s head.
- Brighten faces. Selective brightening on faces transforms group shots.
- Straighten horizons. Takes three seconds, makes landscapes look professional.
If you’re editing product photos for a side business, pair these skills with our guide to turning a hobby into a profitable side business — good photos directly raise what you can charge. And if video is next, see our AI video editing guide.
One caution: the authenticity question
AI editing raises honest questions — when does “enhanced” become “misleading”? For personal and creative photos, anything goes. For product listings, rental photos, or anything where someone makes a decision based on the image, keep edits to lighting and cleanup, not reshaping reality. And if you’re curious about the deeper debate, our piece on whether AI art is really art explores where the lines blur.
From phone snaps to portfolio: levelling up systematically
Once you’ve mastered the basics, the path from casual phone photographer to genuinely good is well-trodden and enjoyable. The next level is light: everything in photography is light, and the single biggest upgrade available is learning to see it. Shoot during golden hour (the hour after sunrise and before sunset) whenever you can — the difference between midday sun and golden-hour light is the difference between a snapshot and a photograph. Overcast days are nature’s softbox, perfect for portraits. And learn to turn toward interesting light rather than just accepting whatever’s behind your subject.
Then composition: the rule of thirds (place subjects off-centre), leading lines (paths, fences, shorelines drawing the eye), and foreground interest (something in the near frame adding depth). These aren’t rules to obey slavishly — they’re tools that make images feel intentional. Your AI editing apps can help here too: most have composition guides and auto-crop suggestions that teach you as you edit.
The wonderful thing about learning photography now is the feedback loop: shoot, AI-edit, compare, learn — all in minutes, all free. Every photo you take teaches you something, and the AI tools accelerate the learning by showing you what’s possible. The BBC’s photography and visual storytelling coverage occasionally features insights from professionals that translate surprisingly well to phone photography — the principles of light and composition don’t care what camera you used.
One more skill worth developing: developing your eye. The technical skills (which slider, which tool) are the easy part; the hard part is knowing what “good” looks like. Train your eye deliberately: follow photographers whose work you admire and analyse why their images work (light, composition, moment, colour). Before-and-after comparisons — your edit versus the original — teach you what each adjustment actually does. And periodically revisit your old edits; the ones that make you cringe show how far you’ve come.
Finally, back up your work. Phone photos are the most lost data in existence — one broken phone, one failed update, and years of memories vanish. Turn on cloud backup (Google Photos, iCloud — whichever matches your phone), and for your best edited work, keep originals as well as edits. Storage is cheap; memories aren’t. The photographer who loses everything learns this lesson once, painfully. Learn it from their experience instead: back up today, thank yourself forever.
One more thing: learn to see like an editor. Before you touch a single slider, ask: what is this photo about? What’s the subject, what’s the distraction, what feeling should it convey? Editing with intent — knowing what you’re trying to achieve before you start — produces dramatically better results than slider-fiddling. The best edit is often the smallest one that serves the photo’s purpose. Restraint is a skill; develop it deliberately.
Your practical takeaway
Start with what you have: open Google Photos and try Magic Eraser and Photo Unblur on your last ten photos. Add Snapseed when you want more control. Learn the five techniques above and you’ll out-edit 95% of phone photographers. The tools are free and the learning curve is an afternoon — the only real requirement is the willingness to crop tighter than feels comfortable.