
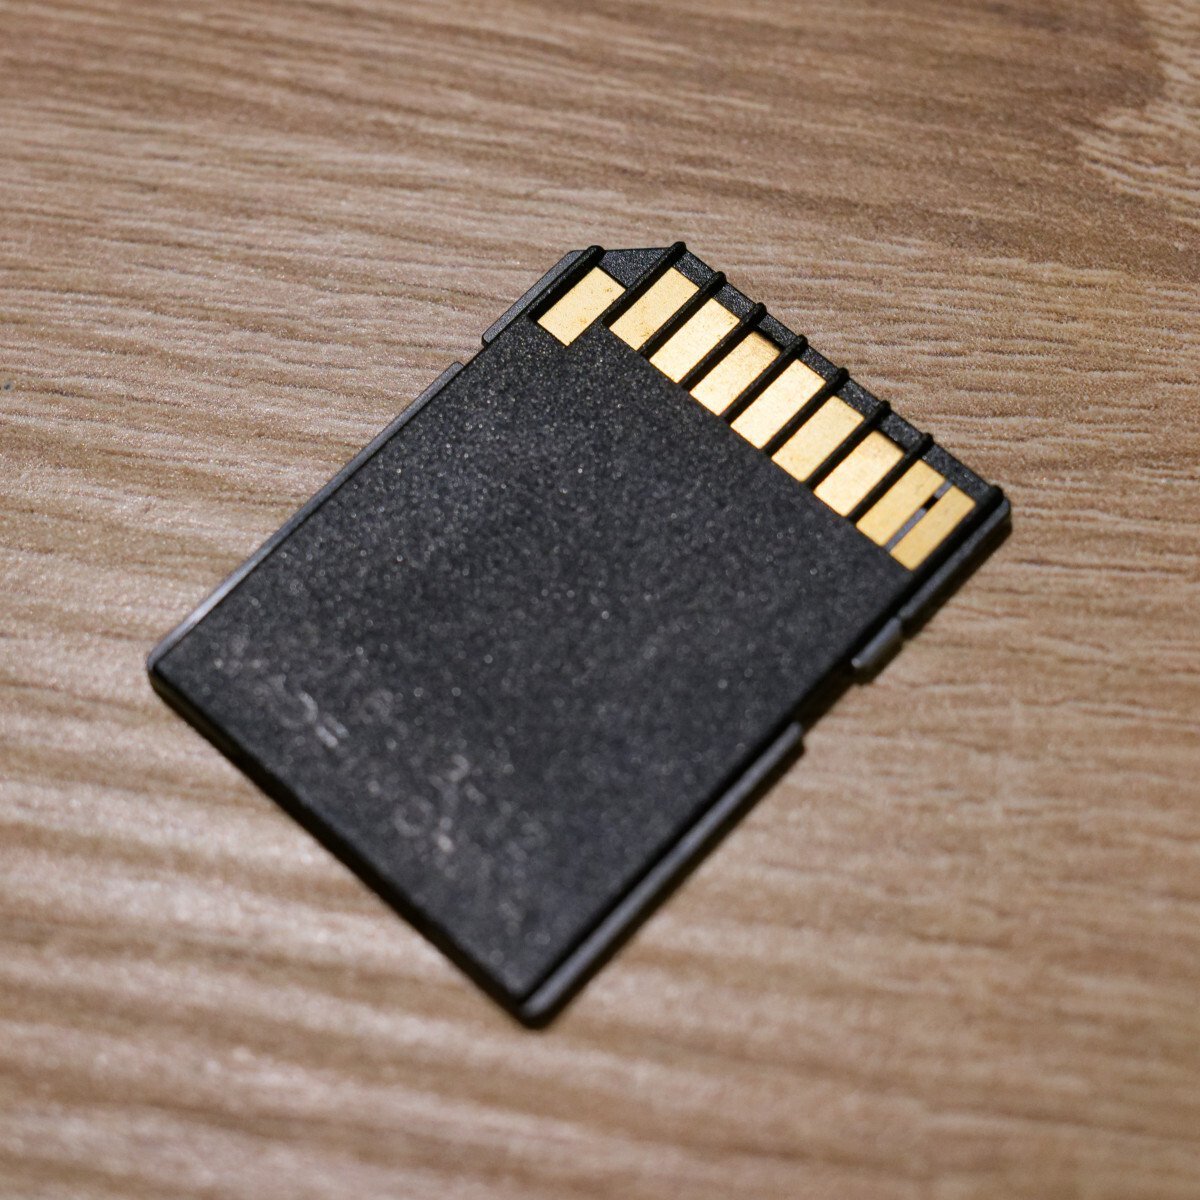
That hollow feeling when you realise the wedding photos were on the SD card you just formatted — or the card corrupted itself and the camera now says “no images found”. I’ve been there, and I’m happy to report the story usually has a happy ending: deleted photos can very often be recovered from an SD card, because “deleting” rarely erases the actual data. It just marks the space as available. Until new photos overwrite it, your pictures are still sitting there, invisible but intact. But — and this is critical — every minute you keep using the card shrinks your chances. Here’s exactly what to do, in order.
Recover deleted photos SD card: stop using the card NOW
This is the single most important step, so it gets its own section. The moment you realise photos are missing:
- Stop taking photos immediately. Every new photo risks overwriting the deleted ones.
- Remove the card from the camera/phone/drone and don’t put it back in.
- Don’t format it “to fix it” — a quick format is usually still recoverable, but a full format or continued use may not be.
- Don’t install recovery software onto the card itself — install it on your computer and scan the card via a card reader.
Recovery success rates are excellent (>90%) if you stop using the card immediately, decent (50–70%) after light continued use, and poor if you’ve filled the card with new photos since. Time matters, but usage matters more — a card left in a drawer for a year recovers just as well as yesterday’s.
The recovery process, step by step
Step 1: Get a card reader
Connect the SD card to your computer via a dedicated card reader (£8–£12) rather than through the camera’s USB cable — it’s faster, more reliable, and avoids the camera interfering. If the computer doesn’t recognise the card at all, try a different reader and a different USB port before assuming the worst; cheap readers fail often.
Step 2: Check the simple things first
Before reaching for recovery software: check the card’s physical lock switch (the tiny slider on the side — if it’s in the locked position, the camera can’t write, which mimics various failures), try the card in a different device, and look for the photos in your camera’s internal memory (some cameras split storage). Also check whether the photos were actually backed up somewhere already — cloud backup, a previous import to your computer, WhatsApp sends to family. You’d be surprised how often the “lost” photos exist elsewhere.
Step 3: Run recovery software
The good news: the best tools are free.
- PhotoRec (cgsecurity.org, free, open-source) — the gold standard. Ugly command-line interface, phenomenal results. Recovers from formatted, corrupted, and deleted cards. If you’re comfortable with slightly technical software, start here.
- Recuva (free tier) — the user-friendly option for Windows. Wizard-driven, perfectly good for simple deletions. Avoid the upsells; the free version does the job.
- Disk Drill (free tier, 500MB recovery) — polished Mac and Windows app, good for smaller recoveries. The free limit covers a typical “oops, deleted a folder” scenario.
- R-Studio / DMDE — for the difficult cases (corrupted filesystems, RAW partitions). More technical, more powerful.
The process is the same regardless of tool: scan the card (deep scan if quick scan finds nothing), preview what it finds, and recover to your computer’s hard drive — never back to the same SD card (writing recovered files to the card overwrites other recoverable data).
Step 4: Sort and verify
Recovery tools dump files with generic names (file0001.jpg, etc.) and often recover ancient deleted photos alongside the recent ones — expect a jumble. Sort by date, preview everything, and copy the keepers to a proper folder. Some files may be partially corrupted (half-grey images) if they were partially overwritten — save what you can; a half-photo beats no photo.
When software can’t help
A few situations need professional data recovery (£100–£300+): the card is physically damaged (cracked, bent, snapped), the computer doesn’t detect it in any reader, or it shows wildly wrong capacity (a classic sign of a counterfeit card — more common than you’d think from marketplace sellers). Professionals can sometimes read the memory chips directly. For irreplaceable photos (weddings, etc.), it’s worth the money; for holiday snaps, weigh the cost honestly.
Counterfeit cards deserve a special mention: fake cards lie about their capacity (a “512GB” card that’s really 32GB), and “lost” photos on them were never actually stored — nothing can recover what was never written. Buy cards from reputable retailers (not marketplace third-party sellers), stick to SanDisk/Samsung/Lexar, and test new cards with the free h2testw utility before trusting them with anything important.
Never again: the backup habit
Recovery is stressful; backup is boring. Choose boring:
- Import after every shoot. Card to computer, same day. Make it as automatic as charging the batteries.
- Follow the 3-2-1 rule: three copies, two media types, one off-site. Our Android photo backup guide and free cloud storage comparison cover the phone side; the same principles apply to camera cards.
- Rotate cards. Don’t use one card until it dies — SD cards wear out. Replace heavily-used cards every couple of years (£15 for a good 128GB card is cheap insurance).
- Then organise the rescued chaos: how to organise thousands of digital photos turns the recovered jumble into a library you’ll actually enjoy.
PhotoRec’s developers at cgsecurity.org maintain excellent documentation if the command-line interface intimidates you — and remember, the software is completely free, no “pay to actually recover” traps like some commercial tools.
The practical takeaway
Stop using the card immediately — that’s 90% of successful recovery. Then: card reader to computer, check the obvious (lock switch, other devices, existing backups), and scan with PhotoRec (best results) or Recuva (easiest). Recover to your hard drive, never to the card. If the card is physically damaged or undetected, consider professional recovery for irreplaceable shots. And afterwards, build the boring backup habit — because the best recovery is the one you never need.