
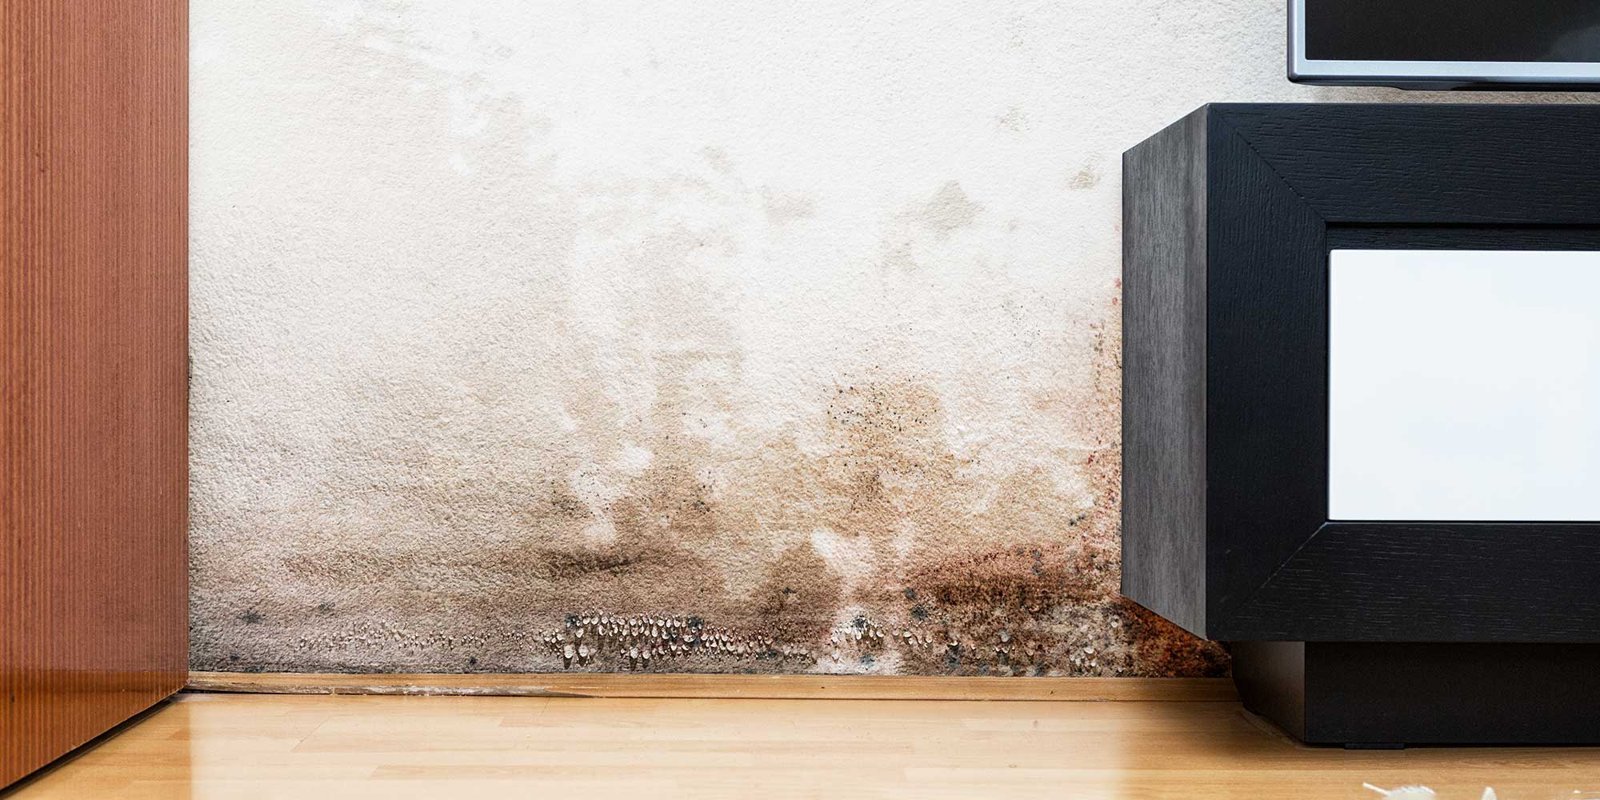
Rising damp is the most misdiagnosed problem in British housing — and the centre of an industry that has sold millions of pounds of unnecessary chemical injections. When people ask what should I do about rising damp in an old house, the first thing I tell them is: true rising damp is rare. What’s common is condensation, penetrating damp and plumbing leaks, all routinely misdiagnosed as rising damp by companies selling the cure.
I’ve investigated damp in three old houses, paid for one unnecessary chemical DPC before I knew better, and learned to diagnose properly. Here’s the honest guide: what rising damp actually is, how to tell it apart, and what actually fixes it.
What should I do about rising damp in an old house? Diagnose properly first
True rising damp is groundwater wicking up through porous masonry by capillary action, typically rising no more than about a metre, leaving a characteristic ‘tide mark’ with salt deposits. It’s genuinely common in houses with no damp-proof course (pre-1920s) or a failed one — but it’s far less common than the damp industry claims. The tell-tale test: rising damp affects the bottom of ground-floor walls fairly uniformly, doesn’t respond to ventilation changes, and leaves hygroscopic salts that keep plaster damp even in dry weather. A moisture meter pressed to the wall shows readings decreasing with height.
Before accepting the diagnosis, rule out the impostors — which cause 80%+ of ‘rising damp’ diagnoses. Condensation: worst in winter, on cold external walls, improves with ventilation and heating. Penetrating damp: localised patches linked to defective gutters, pointing, render or leaking pipes — check outside during rain. Plumbing leaks: sudden, localised, often with a musty smell. Get an independent damp surveyor (one who doesn’t sell treatments — this is crucial) for £250–400 before spending a penny on ‘damp-proofing’. Free surveys from damp-proofing companies are sales visits, not surveys.
- True rising damp: tide mark <1m, salt deposits, uniform on ground-floor walls
- Rule out first: condensation, penetrating damp, plumbing leaks
- Use an INDEPENDENT surveyor who doesn’t sell treatments
- Free ‘surveys’ from treatment companies are sales pitches
- Check gutters, pointing and ground levels before anything else
The fixes that actually work
Start with the free and cheap causes, because they fix most cases. Ground levels: soil, patios or decking piled above the damp-proof course (or above internal floor level in houses with no DPC) bridge moisture straight into the walls — lower the ground level to 150mm below the DPC and watch the ‘rising damp’ vanish. It’s the most common real cause I see. Next: gutters and downpipes — a leaking gutter saturates the wall base exactly like rising damp; fix the gutter, fix the damp. Repoint defective mortar and repair cracked render that lets rain in.
For genuine rising damp with no DPC, the traditional fix is a chemical DPC injection — and here’s the controversial honest take: in the right circumstances (porous brick, genuine capillary rise, diagnosed independently) it can work, but it’s oversold, often misapplied, and useless against condensation or penetrating damp. The building-conservation view increasingly favours breathable approaches: lime plaster instead of cement render (which traps moisture), improved ventilation and heating, and managing ground levels. Whatever you do, never let anyone ‘tank’ internal walls with waterproof render as a first resort — it traps moisture in the wall and moves the problem elsewhere.
Dealing with the damp industry
Protect yourself with knowledge. Any company that diagnoses rising damp within five minutes using only a moisture meter, then quotes for injection — walk away. Moisture meters measure electrical conductivity, not damp type; they read high on salt-contaminated plaster, foil-backed wallpaper and even dense brick. A proper diagnosis takes time, considers the building’s history and construction, and rules out other causes. Get the independent survey in writing, then get three quotes for the recommended work.
On guarantees: chemical DPC ‘guarantees’ are often insurance-backed and transferable, which sounds reassuring but mainly reflects how often the treatment is disputed. If you’re buying a house with a previous DPC, check the guarantee transfers and read what it actually covers. And remember the conservation principle for old houses: they were designed to breathe — lime mortar, lime plaster, no cement. Modern impermeable materials applied to old buildings cause more damp than they cure. When in doubt, a conservation-accredited surveyor is worth their weight in dry plaster.
Drying out and redecorating after damp treatment
After the cause is fixed, the wall needs to dry — and old walls dry slowly. A saturated 9-inch solid wall can take 6–12 months to dry fully, longer in winter. Help it: heat the room consistently (not in blasts), ventilate well, and consider a dehumidifier for the first few months (£150 hire for a month does the heavy lifting). Don’t rush to redecorate — paint applied to a damp wall fails, and replastering too soon traps moisture. The moisture-meter test: readings should be stable and low for several weeks before you commit to finishes.
When redecorating, choose breathable: lime plaster for repairs (not gypsum on old solid walls — it traps moisture), clay or lime-based paints, and no vinyl wallpaper or impermeable coatings on previously damp walls. If salts are present (the white fluffy efflorescence), brush them off dry and use a salt-inhibitor primer before painting — painting over active salts just pushes them through the new paint. The first year after treatment, monitor: a quick monthly check with the back of your hand (damp feels cold) catches any recurrence early, when it’s cheap to address.
- Allow 6–12 months drying — old walls dry slowly
- Heat consistently + ventilate; dehumidifier for the first months
- Don’t redecorate until readings are stable and low
- Breathable finishes only: lime plaster, clay/lime paints
- Brush off salts dry; salt-inhibitor primer before painting
Rising damp: the honest summary
Suspect everything except the diagnosis you’ve been sold: rule out condensation, penetrating damp and leaks first, lower ground levels, fix gutters, and only then consider treatment — diagnosed independently. Most ‘rising damp’ is something cheaper and simpler.
For the mould that damp causes, remove mould from bathroom walls permanently is the permanent fix, and best way to insulate a draughty victorian terrace covers insulating old houses without trapping moisture. For independent damp advice, Which? home improvement guides is the trustworthy source.
The damp-aftercare truth: fixing damp is a two-year project — year one for diagnosis and treatment, year two for drying and redecoration. Rush the second year and you waste the first. Patience, breathable materials, and monthly checks turn a damp wall into a dry one permanently.