
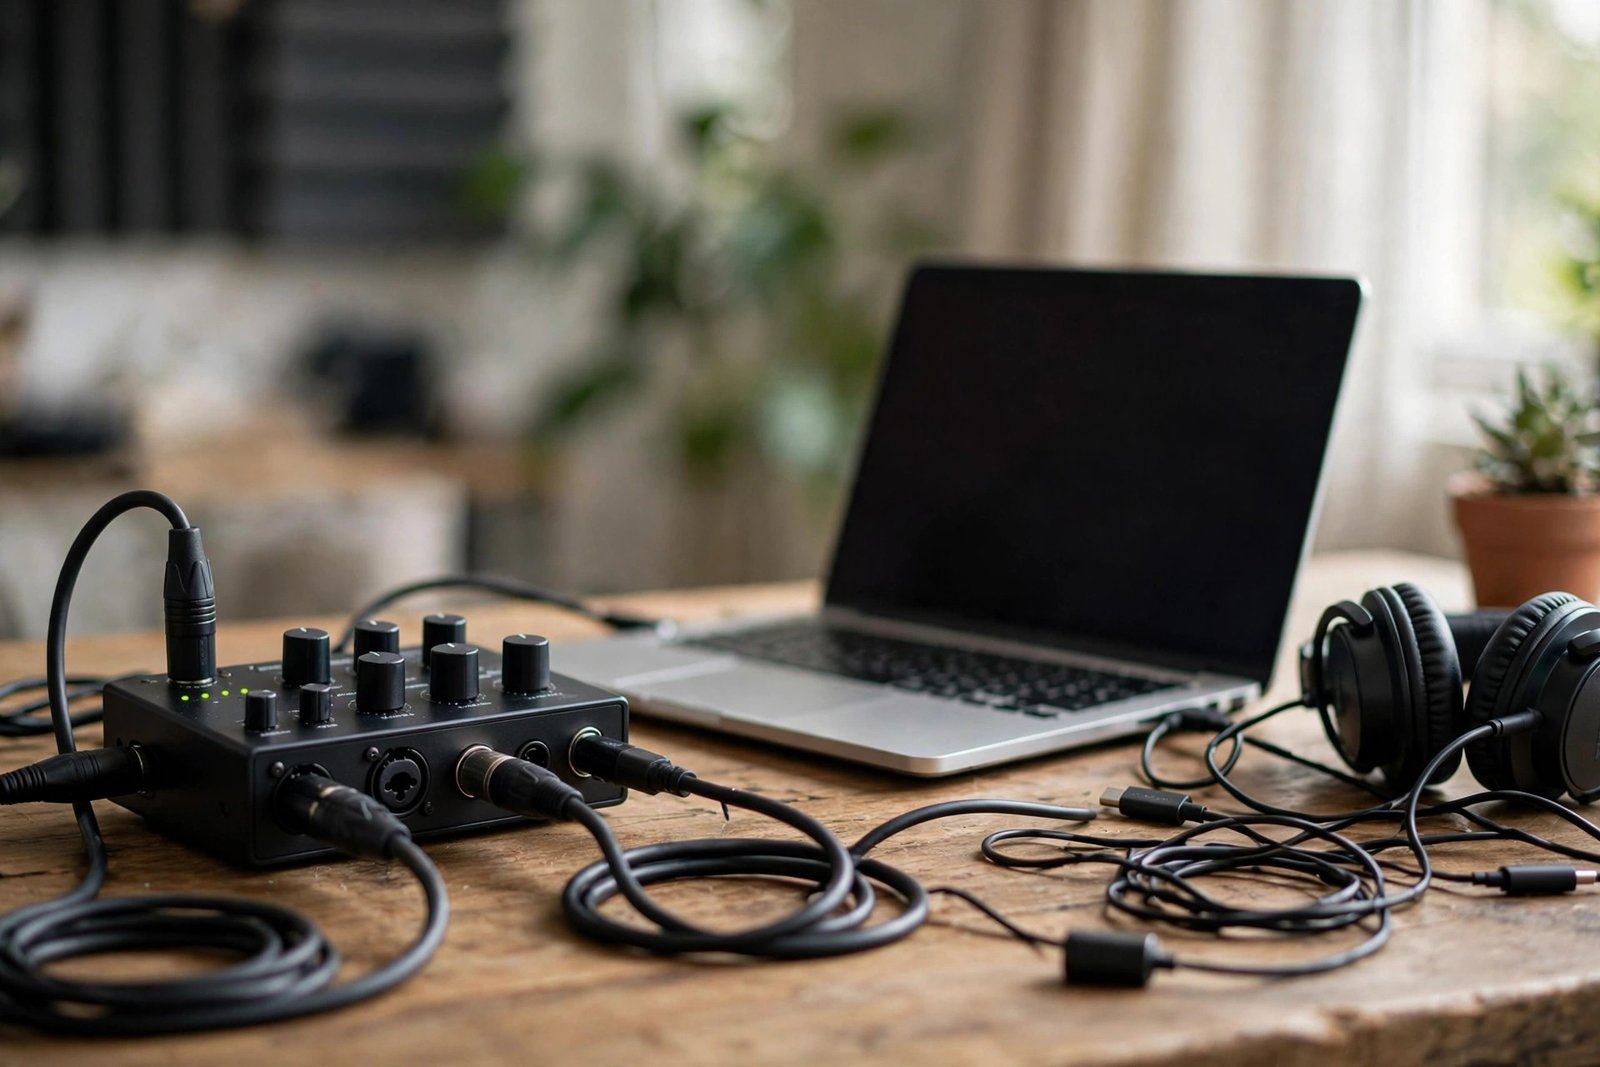
You have a microphone. You plug it into your computer — and nothing useful happens. The mic needs power, the signal needs converting, the levels need controlling. The unglamorous box that does all of this is the audio interface: the hub of every home studio, the least understood purchase in music technology, and the subject of enormous beginner confusion about cost.
So how much does understanding audio interfaces really cost — the knowledge, and the device itself — if you are in York? The knowledge is free and takes an afternoon. The device costs £80–£300 for everything a beginner needs. This guide explains what interfaces do, what the money buys at each tier, and how to choose without the jargon fog.
What an Audio Interface Actually Does
Four jobs, one box. 1. Connection: XLR microphones and instrument cables cannot plug into a computer directly — the interface provides the right sockets (XLR, jack, sometimes MIDI). 2. Preamplification: microphone signals are whisper-quiet; the interface’s preamps boost them to usable levels cleanly — preamp quality is a genuine differentiator between cheap and good interfaces. 3. Conversion: analogue sound becomes digital data (ADC) for your computer, and digital playback becomes analogue (DAC) for your speakers/headphones — converter quality affects everything you hear. 4. Phantom power and monitoring: 48V for condenser mics, plus direct monitoring so you hear yourself without computer delay.
Why not just use the computer’s headphone socket? Because it does none of this well: no XLR inputs, noisy preamps (if any), poor converters, and latency that makes real-time recording miserable. The interface is the difference between “plugging a mic into a laptop” and “a recording setup.” Understanding this takes an hour of reading — the Sound On Sound beginner guides explain the signal chain with exemplary clarity, as do the BBC Academy’s audio production guides.
The Cost Tiers: What Money Buys
£80–£130 — the beginner tier. Two inputs (typically one XLR + one instrument jack), decent preamps, USB connection, bundled starter software. This tier records vocals + guitar, podcasts with two mics, and solo electronic production completely. The market leaders here are genuinely excellent — the quality gap between £100 and £300 interfaces has narrowed dramatically, and beginners cannot hear the difference in blind tests. If you are starting out, start here.
£130–£250 — the serious hobbyist tier. Better preamps (cleaner gain, less noise at high levels), more inputs (two XLR + extras), MIDI in/out, improved converters, sturdier build, better bundled software. Worth it when: you record multiple sources simultaneously (drums, bands), you hear the beginner tier’s noise floor in quiet recordings, or you want an interface that lasts a decade. Not worth it as a first purchase on speculation.
£250–£500+ — the professional tier. Four+ inputs, premium preamps, expandability (ADAT optical for adding channels), superior converters, rock-solid drivers. For committed producers, small studios, and anyone recording bands. Beginners should not start here — the capabilities exceed beginner needs by multiples, and the money is better spent on microphones, room treatment, or instruments.
York buyers have good options: local music shops let you handle units before buying, and the second-hand market is strong — interfaces are durable, and a £250 unit from five years ago at £120 remains superb. Whatever tier you choose, AI music tools for video work and similar software all sit downstream of the interface — the box is the foundation everything else builds on.
Choosing: The Decision Checklist
Work through these in order. 1. Count your simultaneous inputs: solo vocal + guitar = 2 inputs; podcast with guests = 2–4; band = 4+. Buy for your actual maximum simultaneous sources, not imagined futures — unused inputs are wasted money. 2. Check connectivity: USB-C is the modern standard; ensure your computer has compatible ports (adapters work but add clutter). 3. Verify phantom power: any condenser mic needs 48V — all modern interfaces include it, but confirm. 4. Test the drivers: read reviews specifically about driver stability on your operating system — the best-sounding interface in the world is worthless if its drivers crash your sessions. 5. Consider the bundle: included DAW software (Ableton Lite, Pro Tools First, etc.) can be worth £100+ alone for beginners.
The classic beginner mistakes: buying eight inputs “for the future” that never comes, choosing on price alone and getting driver misery, and — the most expensive — upgrading the interface before treating the room. Your recordings are limited by the weakest link, and for most beginners that link is room acoustics, not conversion quality.
Latency Explained: The Number That Matters Most
Every interface advertises sample rates and bit depths; the number that actually affects your daily experience is round-trip latency — the delay between singing into the mic and hearing yourself back through the computer. Above ~12ms, the delay is distracting; below ~6ms, it is imperceptible. Two things determine it: the interface’s drivers (well-written drivers achieve low latency on modest computers; poor drivers struggle on powerful ones — this is why driver reputation matters more than specs) and the buffer size setting (smaller buffers = lower latency but more CPU load; larger buffers = stability for mixing).
The practical workflow: record with small buffers and direct monitoring enabled (hearing yourself straight from the interface, bypassing the computer entirely — zero latency by design), then switch to large buffers for mixing when latency no longer matters. Every beginner should learn this toggle in week one; it eliminates the single most common “something feels wrong” complaint in home recording. If an interface’s direct monitoring sounds clean and its drivers are stable, the headline specifications are almost irrelevant.
Understanding Takes an Afternoon; Mastery Takes Months
The knowledge cost breakdown: one afternoon to understand what interfaces do, the tier differences, and the decision checklist — enough to buy well. One week of setup and experimentation to learn gain staging, direct monitoring, and buffer settings (the latency/quality tradeoff). A few months of regular recording to internalise the workflow until the interface disappears and only the music remains.
The “real results” timeline mirrors this: better recordings the same day you set it up properly (versus plugging into the laptop directly), noticeably professional results within a month as technique catches up with capability, and the quiet confidence of a reliable setup within three months. The interface is one of the rare purchases where understanding precedes and multiplies the value of the device — the afternoon of learning is the highest-ROI part of the whole investment.
The Bottom Line
Understanding audio interfaces costs nothing but an afternoon; buying one costs £80–£130 for everything a beginner needs, £130–£250 for serious hobbyists. Count your simultaneous inputs, prioritise driver stability over spec sheets, treat the room before upgrading the box, and buy for your actual use — not imagined futures. It is the least glamorous and most essential purchase in home recording, and now you know exactly what your money buys.
Frequently Asked Questions
Do I need an audio interface for home recording?
Yes, if you use XLR microphones or want proper instrument inputs — USB mics work without one, but an interface gives better quality, lower latency, and room to grow.
How much should a beginner spend on an audio interface?
£80–£130. Modern budget interfaces are genuinely excellent — beginners cannot hear the difference versus pricier units. Spend more only when your simultaneous-input needs or noise-floor demands justify it.
What is the difference between 2i2-style and bigger interfaces?
Input count and preamp quality. Two-input interfaces suit solo creators; 4+ inputs suit bands and multi-mic setups. Buy for your actual simultaneous sources.
Can I buy a second-hand audio interface?
Yes — interfaces are durable and age well. Check all inputs/outputs work, confirm driver support for your OS, and buy from reputable sellers. A five-year-old premium unit often beats a new budget one.