
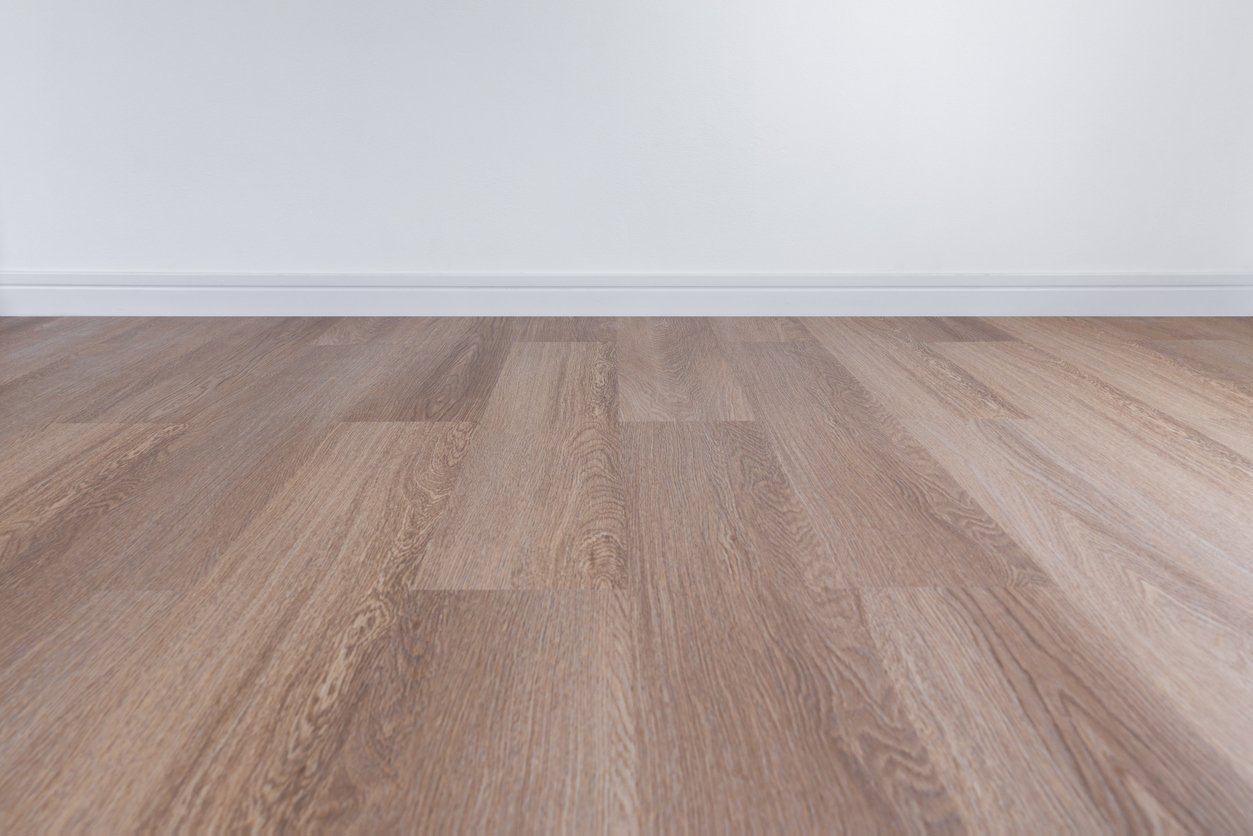
Laminate flooring is the great DIY leveller: it looks like wood, costs a fraction of the price, and is genuinely designed for beginners to install. When people ask how do I lay laminate flooring myself, my answer is that it’s one of the most satisfying weekend projects in home improvement — a standard living room takes two days, the tools cost under £100, and the transformation is instant.
I’ve laid laminate in three rooms now, including one spectacular early mistake involving a radiator pipe that taught me everything. Here’s the complete method, the tools you actually need, and the errors to avoid.
How do I lay laminate flooring myself? Preparation is everything
Start with the subfloor: it must be clean, dry and level. Pull up old carpet and underlay, remove every staple and tack strip, and check for unevenness — laminate tolerates about 3mm of variation over 2 metres; more than that and boards will bounce and joints will fail. Fill dips with self-levelling compound, sand down high spots on wood subfloors, and on concrete, tape down a damp-proof membrane if there’s any doubt about moisture. This boring prep is what separates floors that last 15 years from floors that creak by Christmas.
Acclimatise the laminate: stack the unopened packs flat in the room for 48 hours so they adjust to the temperature and humidity. Buy 10% extra for wastage (15% for herringbone or awkward rooms). Choose your underlay properly — on concrete you need a DPM underlay, on wood a standard foam or fibreboard underlay; the 5mm fibreboard type also smooths minor imperfections and improves acoustics. And the golden rule you’ll hear everywhere because it’s that important: leave a 10mm expansion gap around every wall, pipe and fixed object. Laminate moves with temperature and humidity; without the gap, it buckles.
- Tools: tape measure, spacers, tapping block, pull bar, jigsaw, knee pads, spirit level
- Materials: laminate (+10%), underlay, beading or scotia, door thresholds
- Prep: level subfloor, acclimatise packs 48 hours, remove skirting or plan beading
- Golden rule: 10mm expansion gap at every wall and fixed object
- Work from the longest, straightest wall toward the door
Laying the floor, row by row
Lay the underlay first, one strip at a time as you go (don’t cover the whole room — you’ll walk it to pieces). Start in the left corner of your longest wall, tongue facing the wall, with 10mm spacers in place. Click the short ends together for the first row, cutting the last board to fit — measure the gap, mark the board face-down, cut with a jigsaw or laminate cutter. The offcut starts your second row, which staggers the joints (keep end joints at least 300mm apart — the ‘brick pattern’ isn’t just aesthetic, it’s structural).
Subsequent rows angle into the previous row’s groove and drop flat — you’ll feel the click. Use the tapping block (never hammer the boards directly) and the pull bar for the final board against the wall. The fiddly bits are door frames and pipes: undercut architraves with a handsaw so boards slide underneath (far neater than cutting around them), and for radiator pipes, drill a hole 20mm larger than the pipe, cut a wedge to the board edge, glue the wedge back after fitting. Take your time on the last row — it usually needs ripping lengthwise, and a wonky final row ruins the whole look.
Finishing and the mistakes to avoid
Remove the spacers and cover the expansion gap with beading (stuck to the skirting, never to the floor — the floor must float) or refit the skirting boards over the gap for the cleanest finish. Fit door thresholds where laminate meets other flooring, caulk the gap around pipes with flexible sealant, and give the floor 24 hours before heavy furniture goes back. Then stand back: the feeling of walking on a floor you laid yourself never gets old.
The classic mistakes, so you can dodge them: no expansion gap (buckling within months), laying on an uneven subfloor (bouncy, gappy joints), hammering boards directly (chipped edges), forgetting to stagger joints (weak, ugly), and buying the cheapest laminate available — the difference between £8/m² and £15/m² is enormous in wear layer thickness and click-system quality. Spend the extra; you’ll walk on it every day for a decade. And measure the door clearance before you start — laminate plus underlay raises the floor ~12mm, and doors that won’t open are a nasty surprise.
Living with laminate: maintenance and repairs
Laminate is gloriously low-maintenance if you respect its one weakness: water. Clean with a well-wrung damp mop or a spray mop — never a soaking wet mop, never a steam mop (the steam forces moisture into the joints, the number one killer of laminate). A capful of laminate-specific cleaner in the spray bottle, microfibre pad, done in minutes. Vacuum with a hard-floor head weekly; grit is laminate’s other enemy, grinding micro-scratches into the wear layer. Felt pads under every chair and furniture leg (£5 for a multi-pack) prevent the scratches that dull the finish over years.
Repairs are easier than people fear. Minor scratches: laminate repair pens or wax sticks (£10) in a matching tone, melted in and buffed — invisible on wood-effect floors. Damaged boards: this is why you kept the spares — individual boards can be replaced by disassembling back from the nearest wall (tedious but doable) or, for click-lock floors, by carefully cutting out the damaged board and gluing in a replacement. Gapped joints in winter (laminate contracts in dry heated air): usually close up in summer; persistent gaps can be eased closed with a pull bar and a dab of wood glue in the joint. With basic care, quality laminate looks good for 15–20 years.
- Clean: damp spray mop only — never soaking wet, never steam
- Vacuum weekly with hard-floor head; felt pads on all furniture
- Scratches: repair pens/wax sticks in matching tone
- Keep spare boards — individual replacement is doable
- Winter gaps usually close in summer; don’t panic
Your laminate weekend, summarised
Prep the subfloor properly, acclimatise the boards, maintain the 10mm gap religiously, stagger your joints, and don’t skimp on the laminate quality. Two days’ work, under £500 for an average room including tools, and a floor that looks triple the price.
For choosing the right flooring in the first place, best flooring for a busy family hallway covers busy family hallways, and fix squeaky floorboards upstairs fixes the squeaky floorboards underneath. For product reviews, Which? home improvement guides tests the major brands.
The laminate long game: respect the water rule, keep it clean of grit, and it’ll outlast the décor around it. It’s the most forgiving hard flooring there is — which is exactly why it’s the beginner’s best friend and the busy household’s quiet champion.