
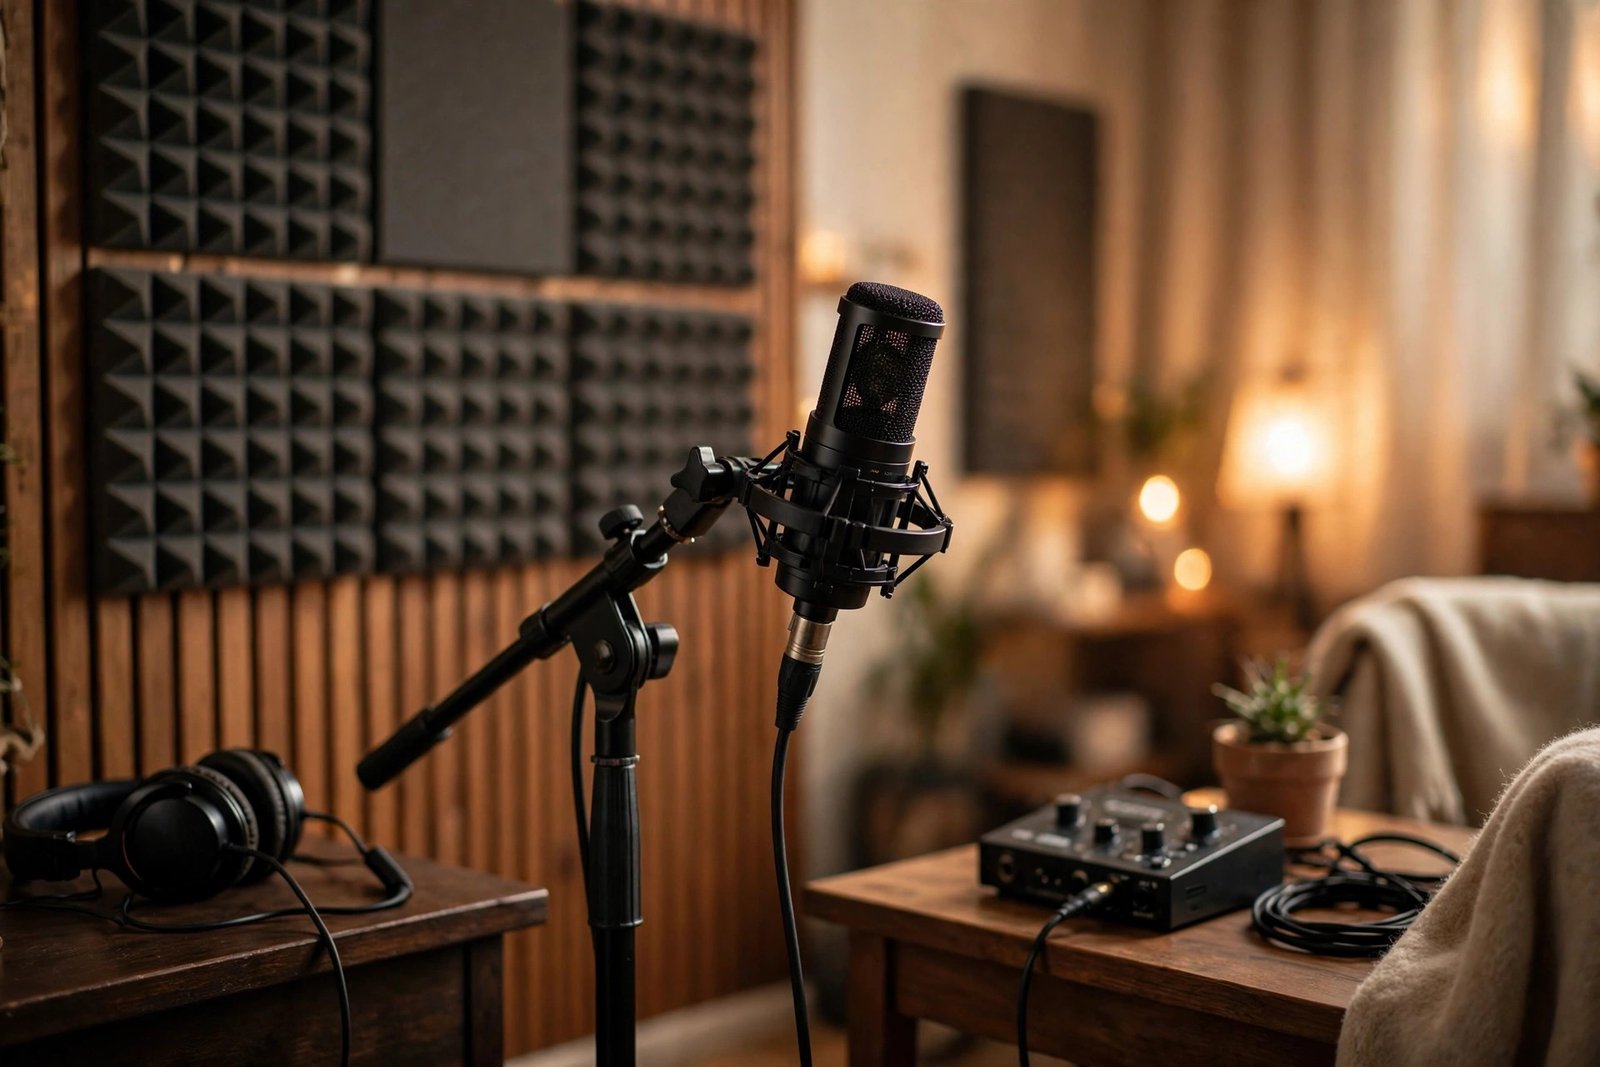
You have decided to record at home — vocals, acoustic guitar, a podcast, maybe all three. Then you discover the first equipment rabbit hole: microphones. Condenser, dynamic, ribbon. Cardioid, omnidirectional, figure-of-eight. USB versus XLR. Prices from £30 to £3,000. Choosing feels like it requires an engineering degree.
It does not. Microphone choice for home recording follows a few clear principles, and understanding them takes an afternoon — not a degree. This guide explains how microphones actually work, which type suits your situation, and how to choose well without overspending or overthinking.
How Microphones Actually Work (The 5-Minute Version)
Every microphone does one thing: converts sound waves (air pressure changes) into electrical signals. The how defines the types. Dynamic microphones use a diaphragm attached to a coil of wire inside a magnet — sound moves the diaphragm, the coil moves in the magnetic field, electricity results. They are rugged, handle loud sources brilliantly, and reject background noise well. The Shure SM58 (£90–£110) — the world’s most common vocal mic — is a dynamic, and it has survived decades of being dropped by singers.
Condenser microphones use an electrically charged diaphragm next to a backplate — sound changes the distance between them, changing capacitance, creating signal. They are more sensitive and detailed, capturing subtlety dynamics miss — but they also capture everything, including your room’s echo, the fridge hum, and the neighbour’s television. They need phantom power (48V, supplied by any audio interface or mixer). Ribbon microphones use a thin metal ribbon in a magnetic field — gorgeous, vintage warmth, but fragile and expensive; irrelevant for beginners.
The practical translation: untreated bedroom → dynamic (it forgives your room); treated or quiet space → condenser (it rewards good acoustics with detail). Most beginners record in untreated rooms, which is why the standard beginner advice — start with a dynamic — exists. The room matters more than the mic, a truth worth internalising early: cheap bedroom soundproofing improves recordings more than a pricier microphone ever will.
USB vs XLR: The Real Decision
This is the fork that matters most. USB microphones (£60–£150) plug directly into your computer — mic, preamp, and converter in one package. Dead simple, genuinely good quality now, and all most beginners need. Limitations: one mic per USB port (no multi-mic recording), fixed built-in components you cannot upgrade, and slightly higher latency.
XLR microphones (£80–£300+ for the mic, plus £100–£200 for an audio interface) use professional three-pin connectors into an interface or mixer. More complex, more flexible: any mic works with any interface, multi-mic recording is natural, and upgrades are modular — improve the mic or the interface independently. This is the path for anyone serious about recording music with multiple sources.
The decision rule: podcast, streaming, or single-voice recording → USB (simpler, cheaper, excellent). Music with instruments and vocals, or plans to grow → XLR + interface (the professional path, worth the learning curve). Beginners who choose USB are not settling — they are matching the tool to the task. And whichever you choose, decent monitoring matters: budget earbuds work for casual checking, but closed-back headphones are the real monitoring tool.
Polar Patterns: The Spec Beginners Ignore (But Should Not)
Polar pattern describes which directions a mic hears. Cardioid (heart-shaped: hears the front, rejects the rear) is the default for home recording — it focuses on you and ignores the room behind the mic. Omnidirectional hears everything equally — useful for room ambience or group recording, terrible for untreated bedrooms. Figure-of-eight hears front and back, rejects sides — the classic for duets and certain stereo techniques.
For 95% of home recording, cardioid is the answer. But knowing the pattern exists prevents a classic beginner error: buying a mic with switchable patterns, setting it to omni by accident, and wondering why every recording sounds like a bathroom. Check the switch. The Sound On Sound technique archives explain patterns with audio examples that make the abstract instantly concrete.
Choosing: The Shortlist by Use Case
Podcasting/streaming/voiceover (£60–£130 USB): a well-reviewed USB dynamic or condenser from an established brand. Prioritise a model with a headphone jack for zero-latency monitoring and a sturdy mount — handling noise ruins more beginner recordings than mic quality. Singing in an untreated room (£90–£150): dynamic XLR (the SM58 standard) or a USB dynamic — forgiving, reliable, professional results. Singing or acoustic instruments in a decent room (£120–£250): large-diaphragm condenser XLR plus a basic interface — the classic home-studio vocal chain. Multi-instrument music (£300+ total): interface with two+ inputs, one condenser and one dynamic — the versatile starter studio.
What not to buy: vintage-styled mics with no reviews, anything promising “studio quality” under £40, and — the classic beginner trap — an expensive condenser for an untreated room, where it faithfully captures every flaw in your acoustics. Spend the difference on room treatment first; the mic upgrade comes later.
How It Actually Works in Practice
The unglamorous truth: microphone technique matters more than microphone choice. Distance: 15–30cm for vocals (closer = more bass and intimacy, further = more room sound); experiment and listen. Position: slightly off-axis tames harshness; pop filters (£10–£15, essential) kill plosives. Gain staging: set levels so peaks hit around -12dB — healthy signal, no clipping, room to mix. The room: record in the deadest space available — wardrobes full of clothes are legendary for a reason; duvets over hard surfaces work.
Do a test recording and listen critically on headphones before committing to a full session. Ninety percent of “bad mic” complaints are actually bad technique, bad gain, or bad rooms — all free to fix, all more impactful than any upgrade. Record the same passage at three different distances and compare: the differences will teach you more about your microphone than any review. The BBC Academy’s audio guides cover these fundamentals from a broadcast perspective, and the principles are identical.
The Bottom Line
Choosing a microphone for home recording comes down to three decisions: dynamic for untreated rooms (condenser for treated ones), USB for simplicity (XLR + interface for growth), cardioid pattern almost always. Match the mic to your room and your use case, spend £60–£250 depending on ambition, invest in technique and room treatment before pricier gear, and test before you commit. The microphone is the least mysterious link in the recording chain — and now you know exactly how it works.
Frequently Asked Questions
What is the best microphone for home recording beginners?
A USB dynamic or condenser (£60–£130) for voice/podcasting; a dynamic XLR like the Shure SM58 (£90–£110) plus interface for music in untreated rooms. Match the mic to your room, not to marketing.
Do I need an audio interface?
Only for XLR microphones — USB mics have the interface built in. If you plan multi-mic recording or serious music production, an interface (£100–£200) is the professional path.
Why do my recordings sound echoey?
Your room, not your mic — hard surfaces reflect sound. Record in smaller, softer spaces, add duvets or acoustic panels, and use a cardioid dynamic mic close to the source. Room treatment beats mic upgrades.
What is phantom power?
The 48V electrical supply condenser microphones need to operate, provided by audio interfaces and mixers at the push of a button. Dynamic mics do not need it (and are unaffected by it).